Manual
Installation
What kind of system requirements is it for the computer you need in order to install and use the Autocom software? How does the installation itself work? And, how can you make a computer configuration? Read all about it here.
- Intel® Core i5 or better
- Windows® 11
- 4 GB RAM (depending on the OS)
- 16 GB free space on the hard drive
- Screen resolution of 1440 x 900 or higher
- Connection to the Internet
- Bluetooth (SPP)
- USB port
- Adobe Acrobat Reader 8.0 or higher
- Recommendation to turn off sleep mode
NOTE Windows® support on the Windows® 10 operating system will end on 14 October 2025. This means that we can no longer guarantee that our CARS and TRUCKS software will work optimally on computers still using Windows® 10.
Please follow the recommendations above.
In order to install the software you need to use the USB safety dongle connected to the ICON. It is located in a socket at one of the short ends of the unit. The dongle is programmed to work only with the specific serial number of the ICON that it was delivered with it.
The dongle is a security dongle that not only protects the software from unauthorised access, it is also the device connecting the ICON to the correct software license level.
Here is how you install the Autocom software:
- Insert the USB security dongle into the USB port of the computer.
- Follow the instructions in the installation wizard.
- The License Activation Tool (LAT) will start automatically and connect to the Internet to retrieve accurate license information for the unique VCI serial number. The installation will now start and the dongle will control what installations are available.
Download release
Please note that it is also possible to download the full installation package from https://autocom.se/en/releases.
Follow the instructions to complete the download and installation.
NB!
Antivirus programs and other similar programs may sometimes cause problems with the automatic
start-up of the Autocom software. If the start-up does not work or if it takes long time, please de-activate the antivirus programs. Examples of programs known to cause problems are McAfee VirusScan and ZoneAlarm. Once the installation of the Autocom software is done, the antivirus programs can be re-activated.
Bluetooth
Make sure the Bluetooth is active on the computer, that the VCI is powered via the OBD-socket and within range.(Maximum range is 10 open meters.)
- Go to Settings and Hardware setup.
- Under Bluetooth Hardware you press Search.
- Select the right HW.
- Press Test and confirm with OK.
- If the firmware needs to be updated, you will be informed about this and you will be needed to do that update as well.
USB
Autocom CARS and TRUCKS contains large amounts of sensitive vehicle data. This data needs to be protected from unauthorised access. That’s why a login is required for the software.
Before you login for the first time
In addition to a computer with a valid CARS and/or TRUCKS software licence, you will also need a mobile phone and an email address linked to a Autocom Secure Gateway account.
The first time you log in, the process takes place in two steps. The first step involves signing in with your email address and password. The second step is a multi-factor authentication (MFA), where you need to enter a few codes to proceed.
Once you have completed the full login process, you will not need to repeat the MFA steps as long as you continue using the same diagnostic software on the same computer.
How long does the login last?
You will not need to log in every time. As long as you use the software continuously after your initial login, you won’t be asked to log in again. However, to access systems protected by the Secure Gateway, you will always need to log in.
Do you have to log in every time?
You can access the software without logging in. However, if you choose not to log in, you won’t be able to access the Secure Gateway or the OE data stored in the database. If you initially choose not to log in, you can still do so later whenever you need to access a system that is protected by the Secure Gateway.
If you use both CARS and TRUCKS, you will also need to log in when switching between the software applications.
Step-by-step guide
- Start CARS or TRUCKS.
- Log in with your Secure Gateway account. If you don’t already have an account, click CREATE ACCOUNT to create one.
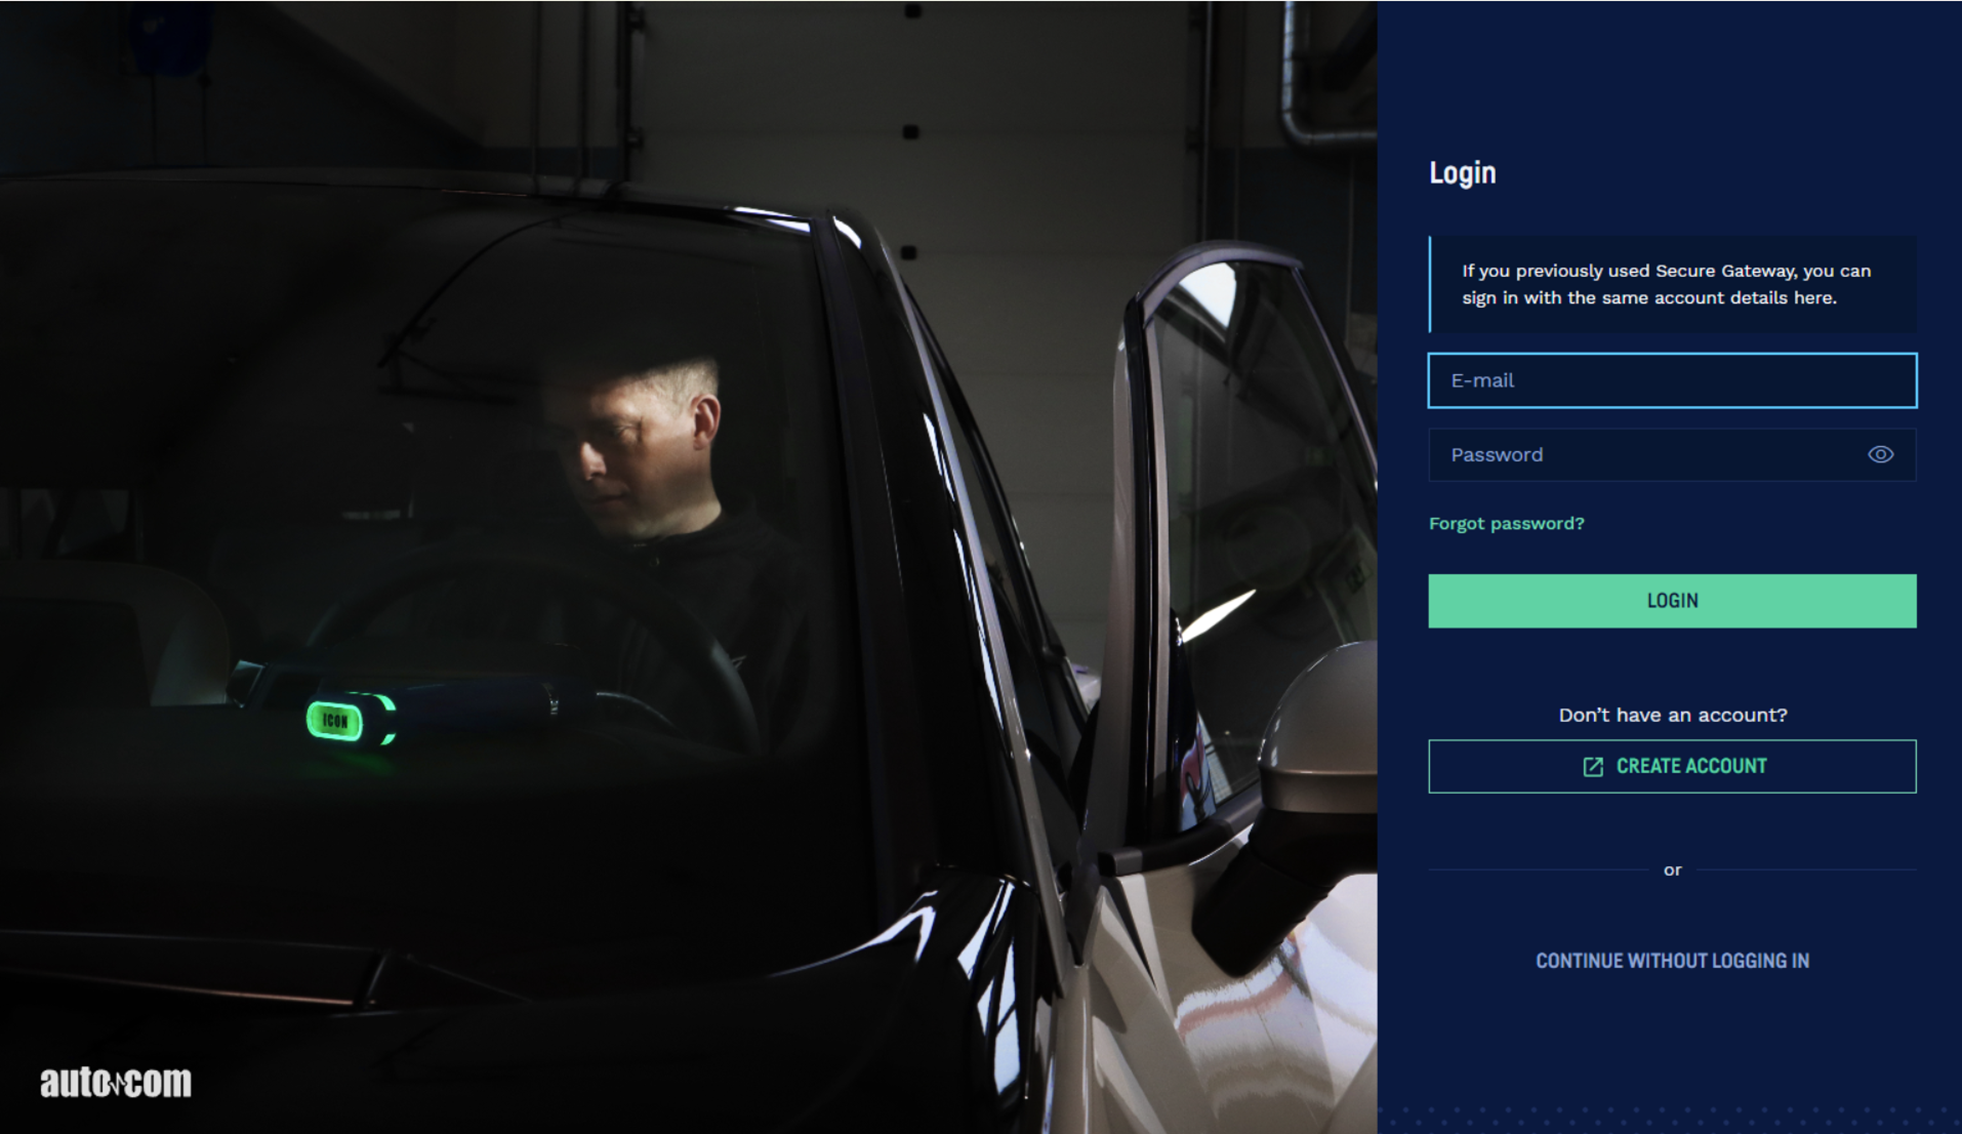
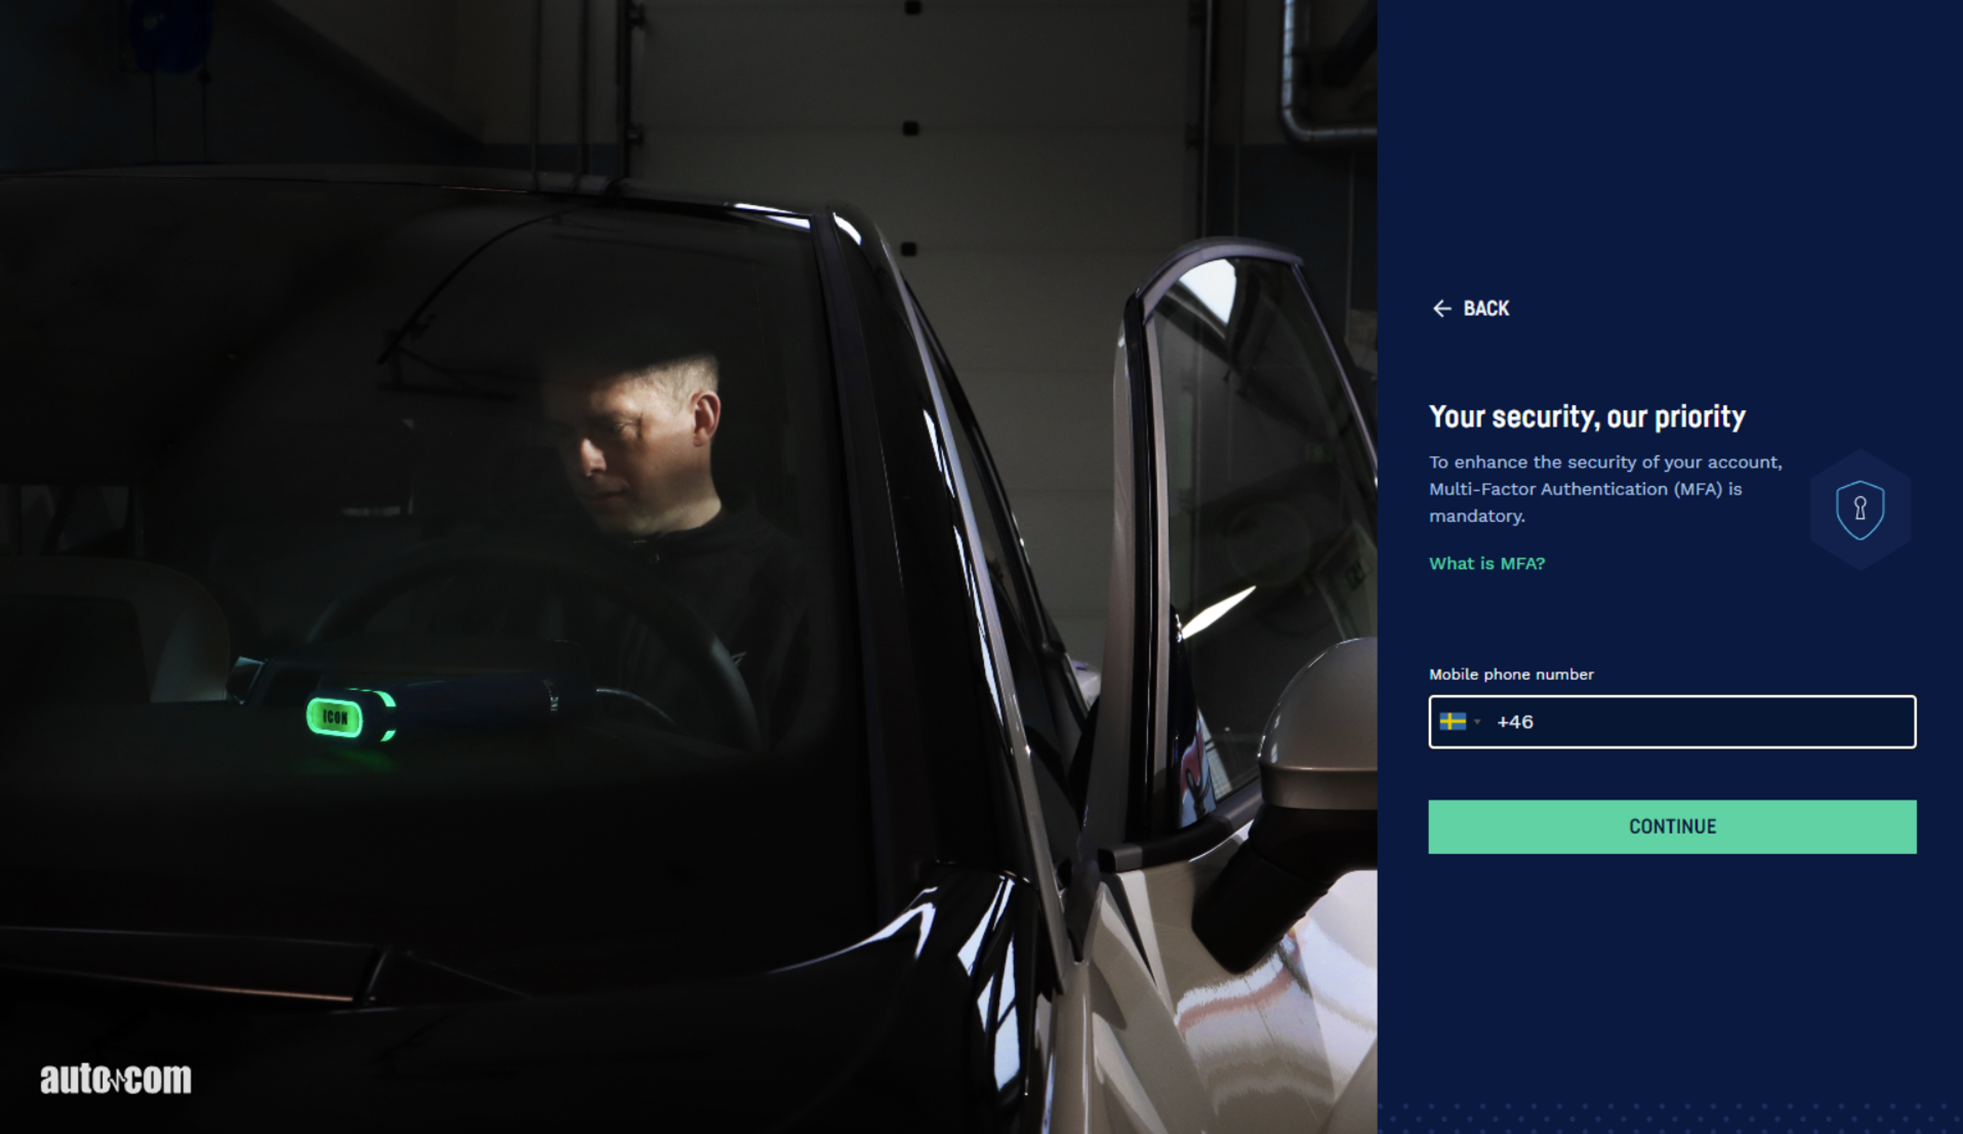
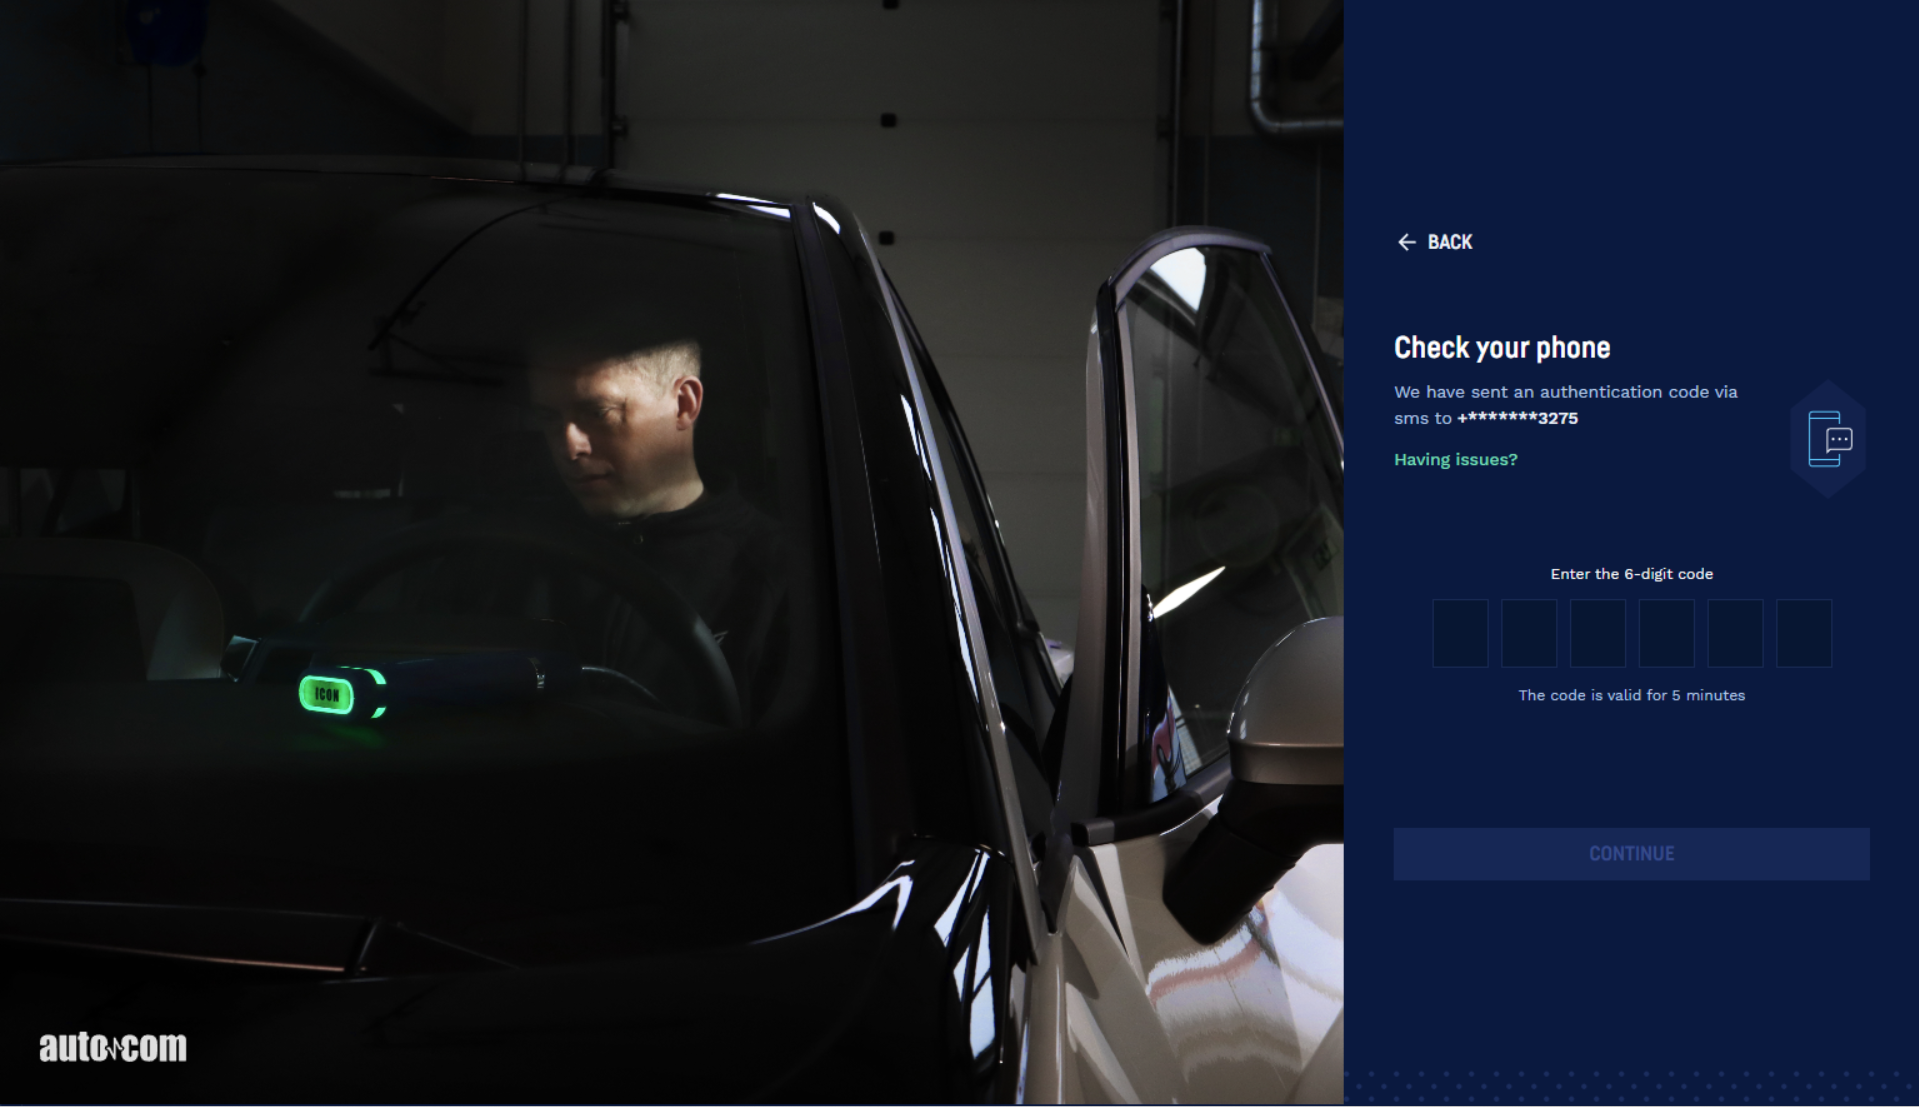
- Enter a mobile phone number. (You will receive a verification code via SMS to that number.)
- Click CONTINUE.
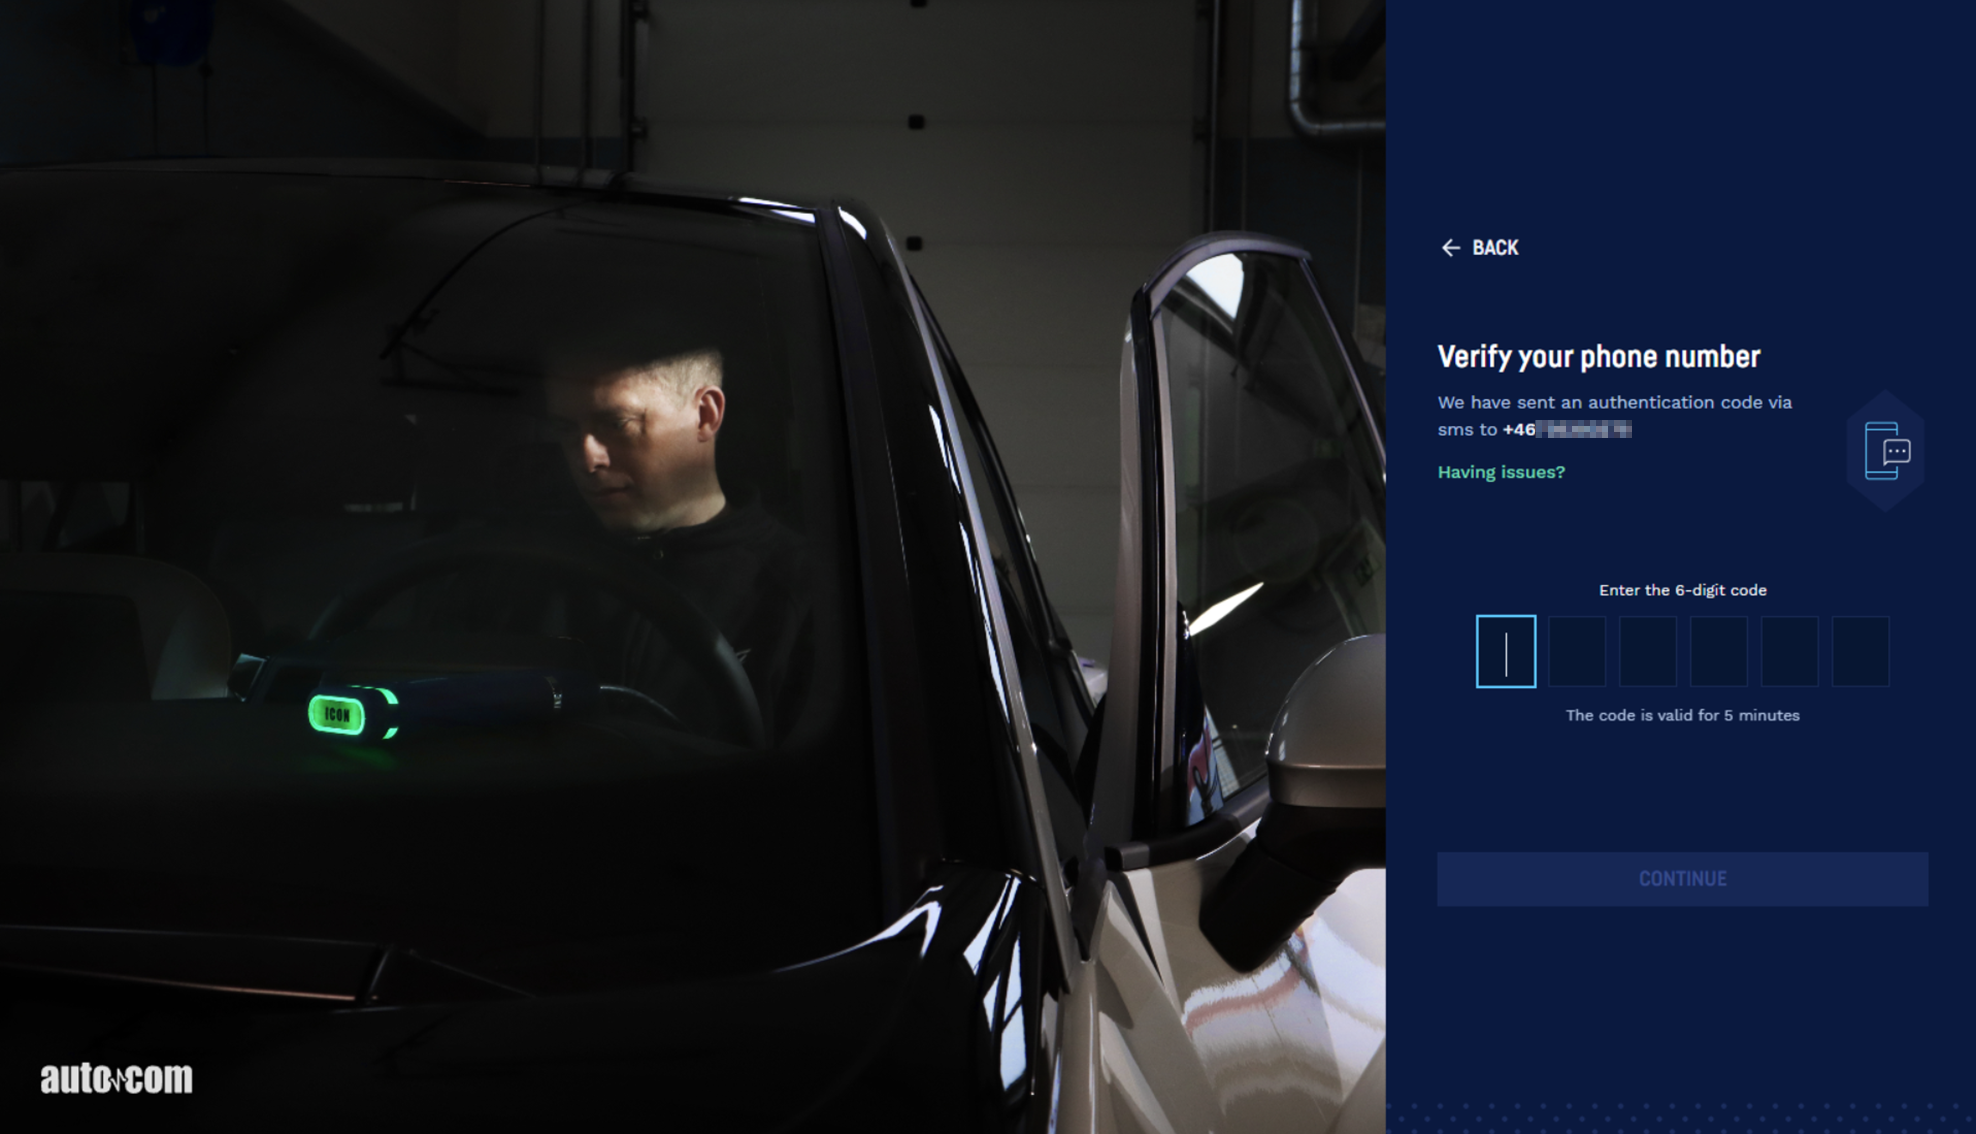
- You will now receive a verification code via SMS to the mobile number you just entered. The code is valid for a few minutes.
- Enter the code in the diagnostic software.
- Click CONTINUE
- Choose whether you want to trust the device — meaning you allow this computer to be used again for your next login without repeating the full process.
If you choose to trust the device (i.e. click TRUST), you won’t need to repeat steps 2–8 as long as you continue using the same computer. By trusting the device, you will also gain direct access to the Secure Gateway.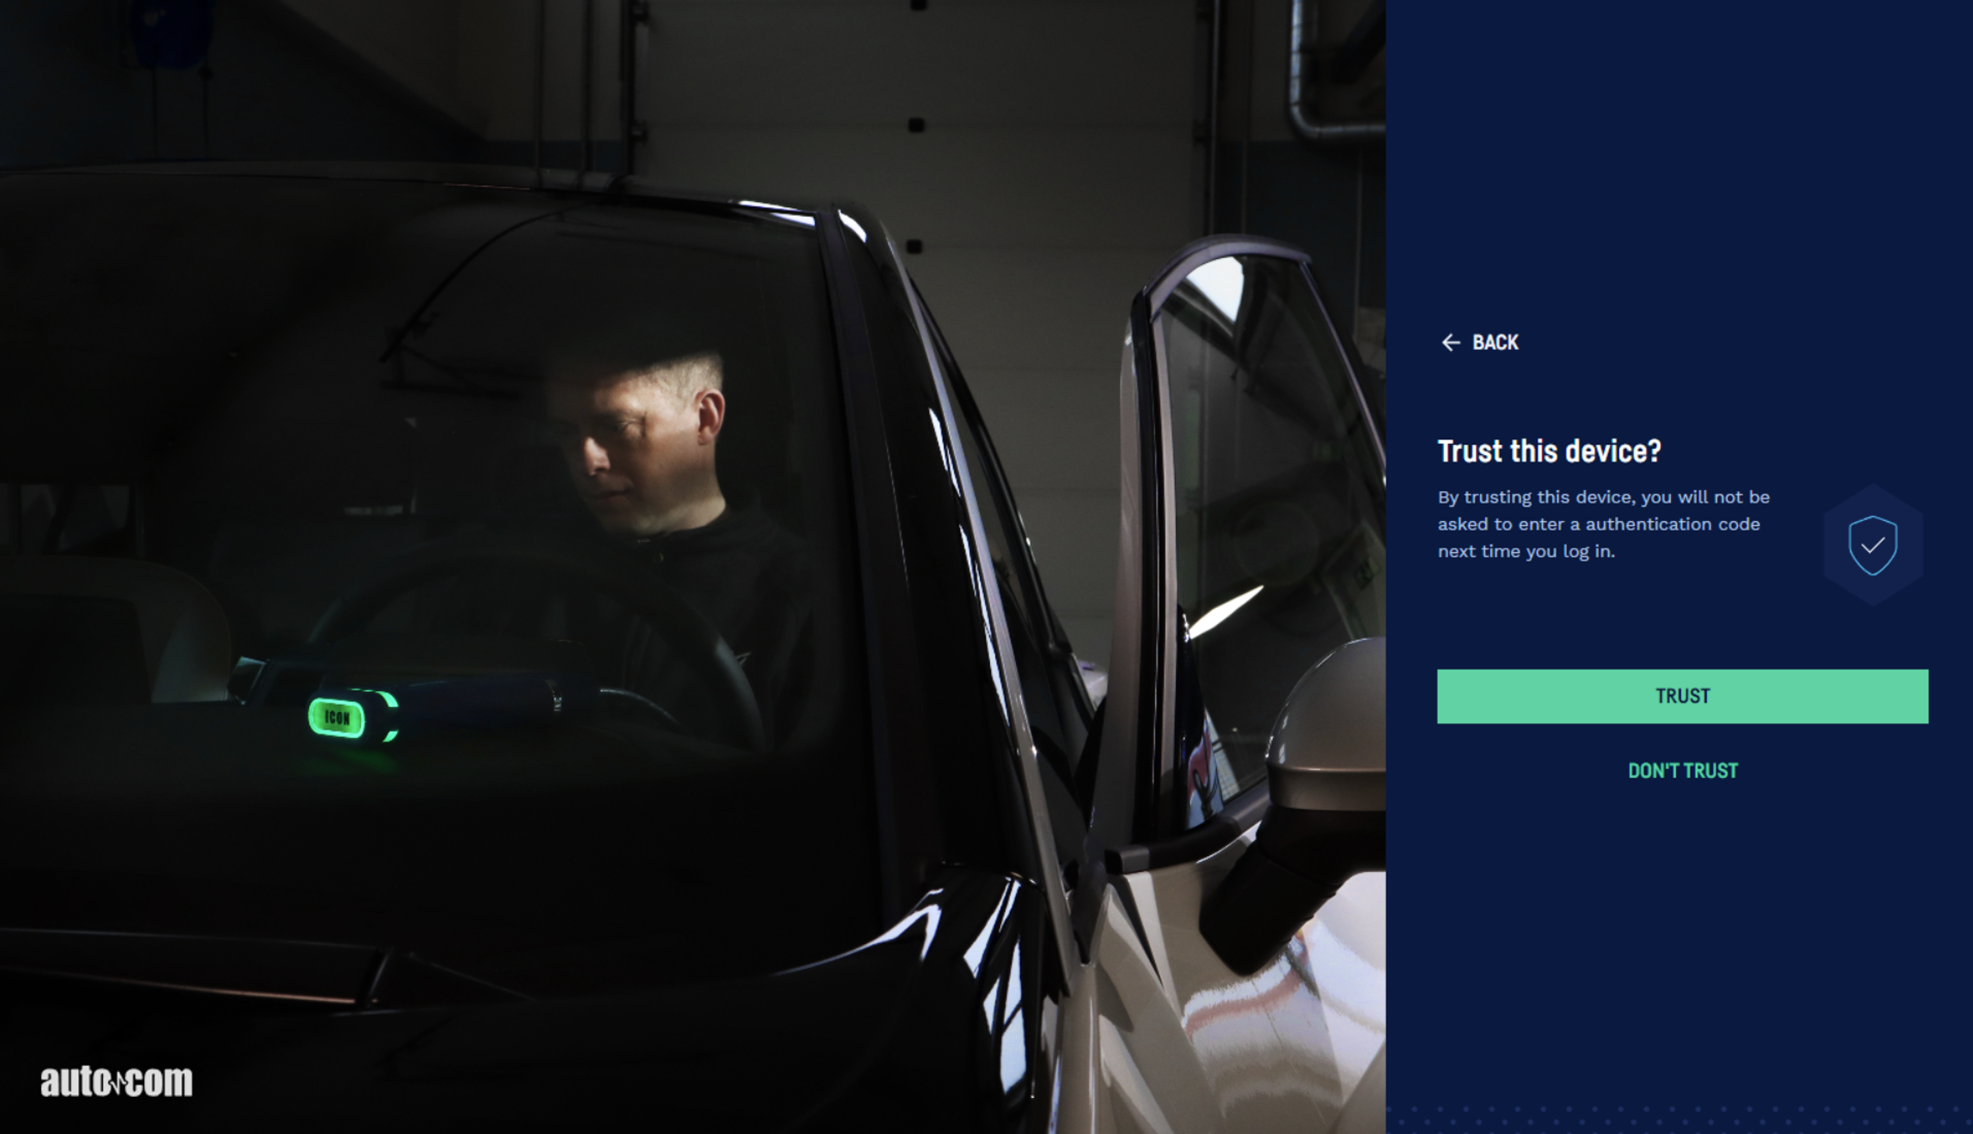
You will now have access to the diagnostic software.
The steps 9-10 below only need to be completed the first time, provided you are using the same computer. - You will receive another code via SMS.
- Enter the code and click CONTINUE.
You have now completed the login in and can carry on reading about important information and about the functions in the diagnostic software.